Design WooCommerce Shop Page using Dynific Addons for Elementor
With Dynific Addons for Elementor (formerly AnyWhere Elementor Pro), you can completely redesign your WooCommerce Shop Page without writing a single line of code. Instead of using the default layout provided by WooCommerce, you can build your own custom Shop Page using Elementor and Dynific Addon Templates.
How to create Block Layout for Products Archive Page
Before we move on creating a WooCommerce Shop page, first create a block layout for that. Follow the steps below:
- Go to Dynific Addon Template -> Add New and create a new DA Template with the following configuration.
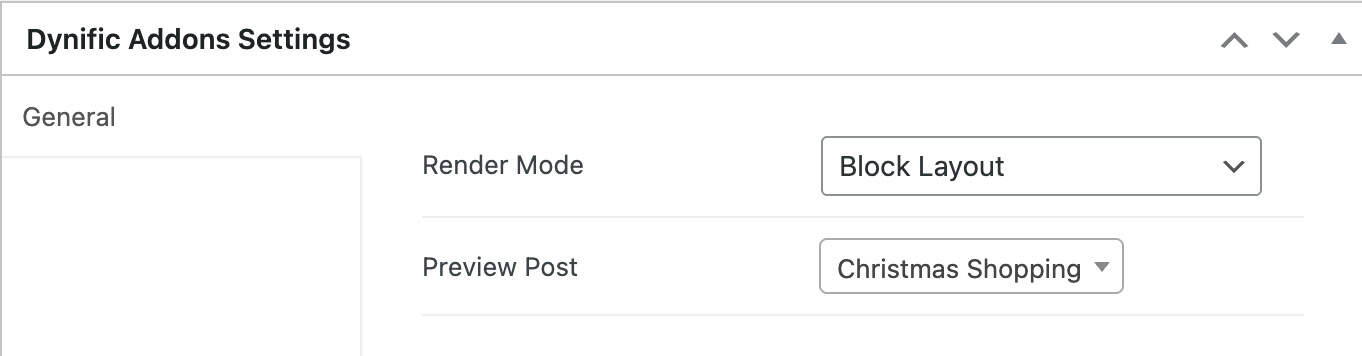
- Render Mode -> Block Template
- Preview Post -> Select an existing Product by typing its title. This product will be used to show preview data while creating the layout.
- The template configuration will look like this.
- Now design the template using Elementor.
- Here, you will have to use available DA widgets like Woo Title, Post Image, Woo Price, etc., to design a single product layout. The Post Block Adv widget will repeat this layout to render the Product Grid/List.
- Design it the way you want and save. Now this will be available under the Block Layout field of the Post Block Adv widget.

Steps to Create WooCommerce Shop Page
Step 1: Create a Dynific Addon Template for the Shop Page
- Go to your WordPress admin -> Dynific Addon Templates -> Add New
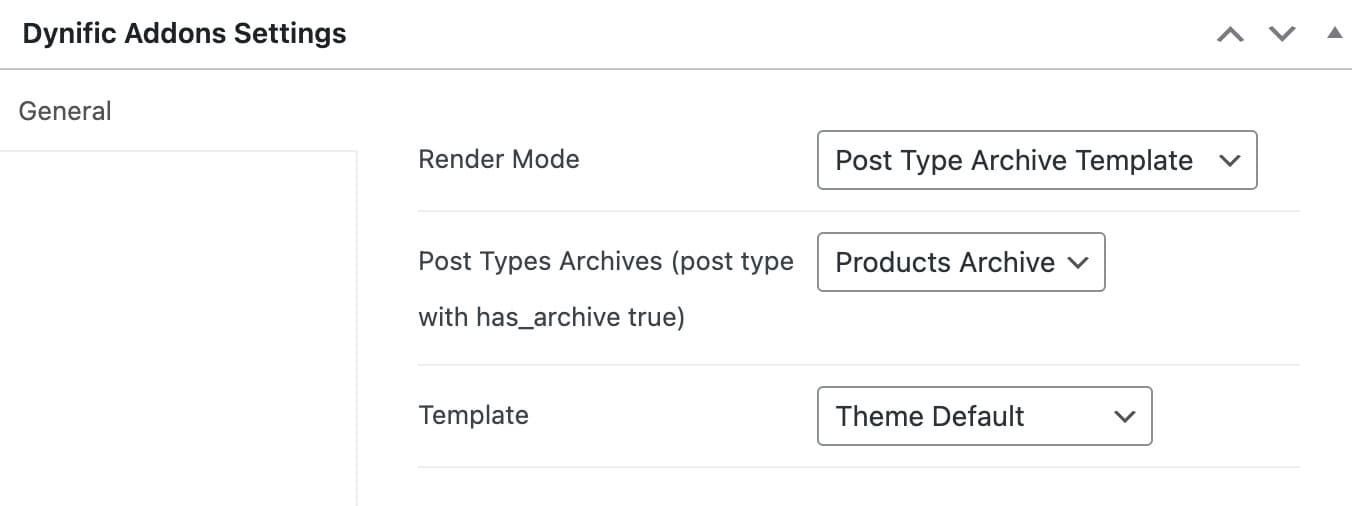
- Give it a user-friendly title and do the following configuration.
- Render Mode – Post Type Archive
- Post Type – Product
- Template – Check this if you want to use the Elementor canvas template for Shop Page.
- This template will replace the default WooCommerce Shop Page layout.
Step 2: Design the Layout With Elementor
- Once the template is created, click Edit with Elementor and begin designing.
- You can now build a visually appealing shop page using Elementor widgets:
- Use a Heading widget to display a title like “Shop” or “Our Collections”
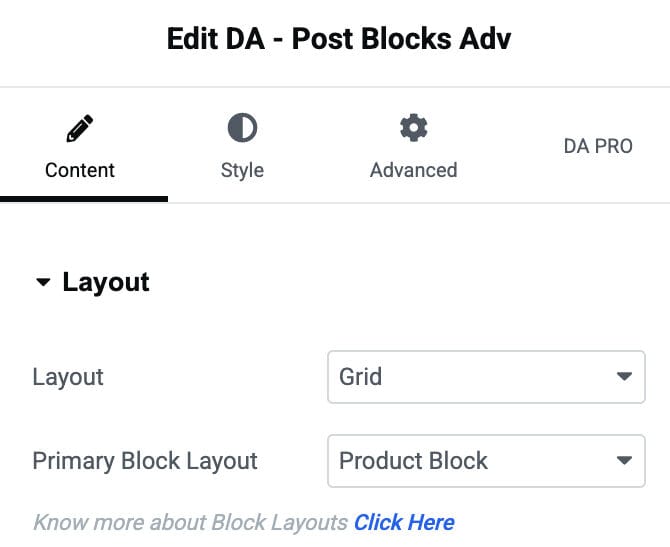
- To show the products, drag and drop the DA – Post Block Adv widget and configure the settings.
- Skin: Select Grid option
- Primary Block Layout – Select the Block layout you have created for the Products Archive page above.
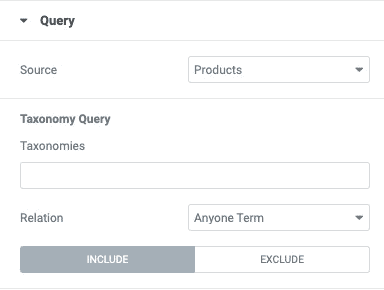
Step 3: Configure the Query Settings
Here, you need to configure the following:
- Source: Products.
- Taxonomies: To get products from particular taxonomies enter
- Do the rest of the settings as per your requirements. With this, your shop layout is complete.
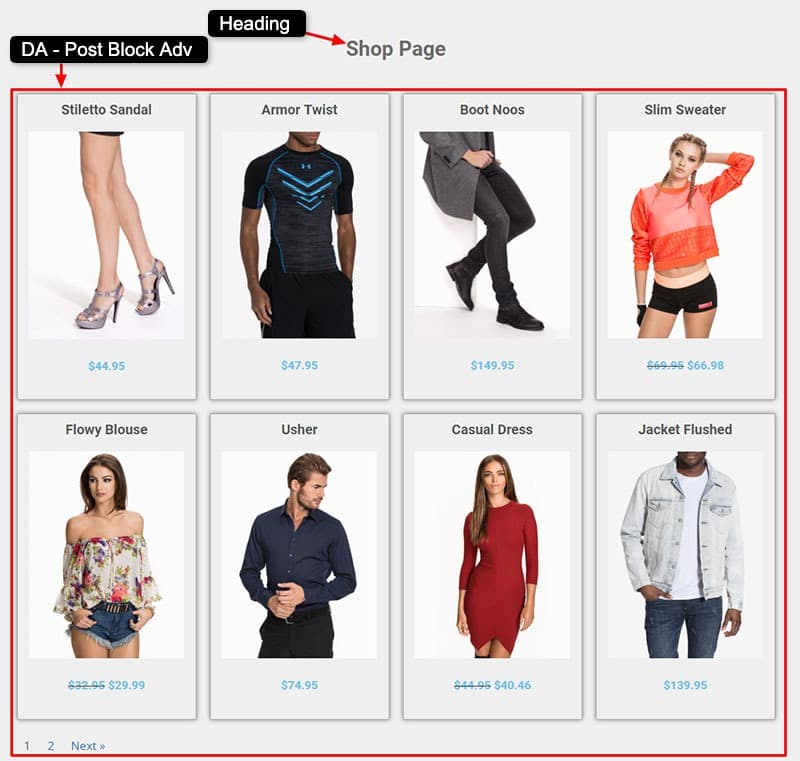
Step 4: Preview Your Shop Page
Now browse the shop page, and you will see this layout implemented there. This is just an example of the basic setup. You can make a much attractive layout using your Elementor design skills.