How to Create a Normal Template
A Normal Template in Dynific Addons for Elementor helps you create reusable Elementor layouts that you can place across your website. It is useful for banners, call-to-action sections, notices, promotional blocks, and other custom template placements.
If you want to reuse the same design in multiple places without rebuilding it every time, a Normal Template is the right choice.
Steps to Create a Normal Template
Follow the steps below to create and configure your template.
Step 1: Create a New Template
- To create a Normal Template, first navigate to Dynific Templates → Add New Dynific Template from your WordPress dashboard.
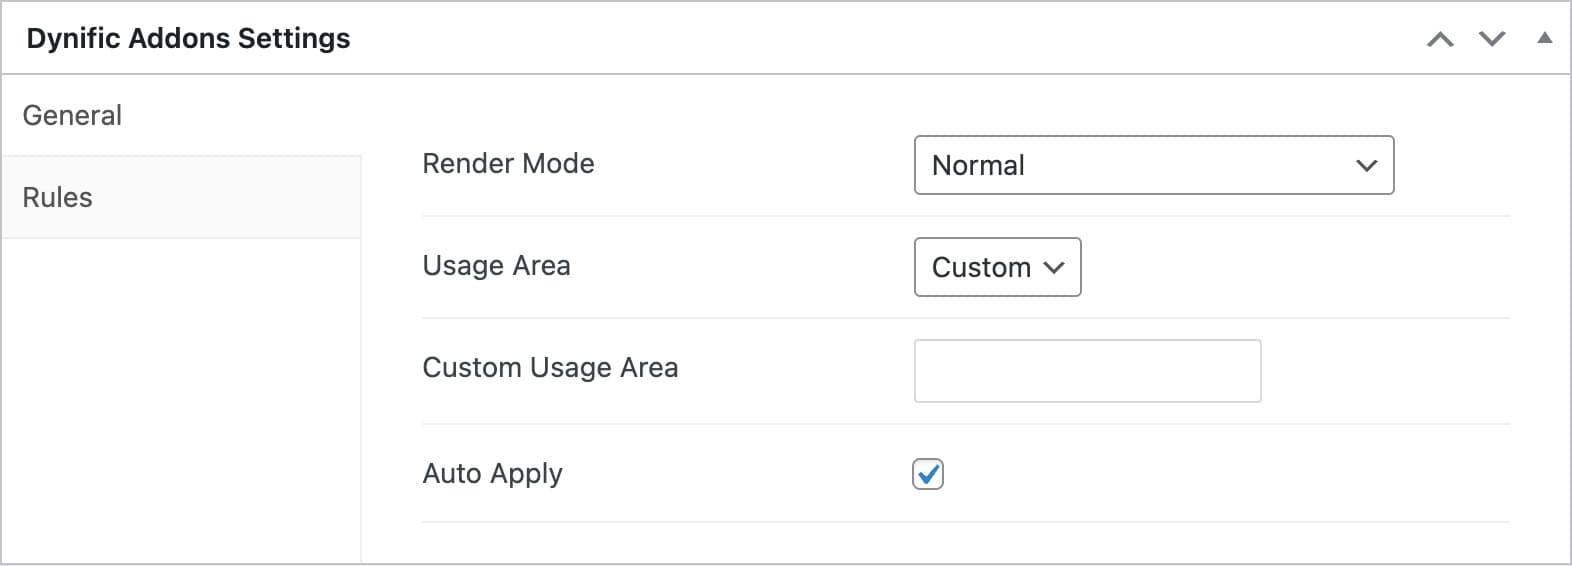
- Now, under the Dynific Addons for Elementor Settings, do the following configuration:
- Render Mode: Post Template
- After that, choose the Usage Area, where you will see two options: None and Custom.
- If you select None, the template won’t be placed automatically. You’ll need to use a shortcode to add it manually.
- On the other hand, if you select Custom, you can place the template in a specific location.
Step 2: Design Your Template
- Click on Edit with Elementor
- Start designing your template
You can use:
- Elementor widgets
- Dynific Addons widgets
- Any other elements to make it more interactive

Step 3: Displaying the Template on a Page
After designing the template, it was configured using the shortcode.
Paste the shortcode into any page or post where you want the template to appear.
This makes it easy to reuse the same design across multiple pages while maintaining consistency.