How to Design Author Archive Using Elementor
An Author Archive Template allows you to create a custom layout for displaying posts archive written by a specific author. Instead of using the default theme design, you can fully control how the author’s posts are presented using Dynific Addons and Elementor.
This helps you maintain a consistent design and provide a better browsing experience when users explore content by a particular author.
Steps to Create an Author Archive Template
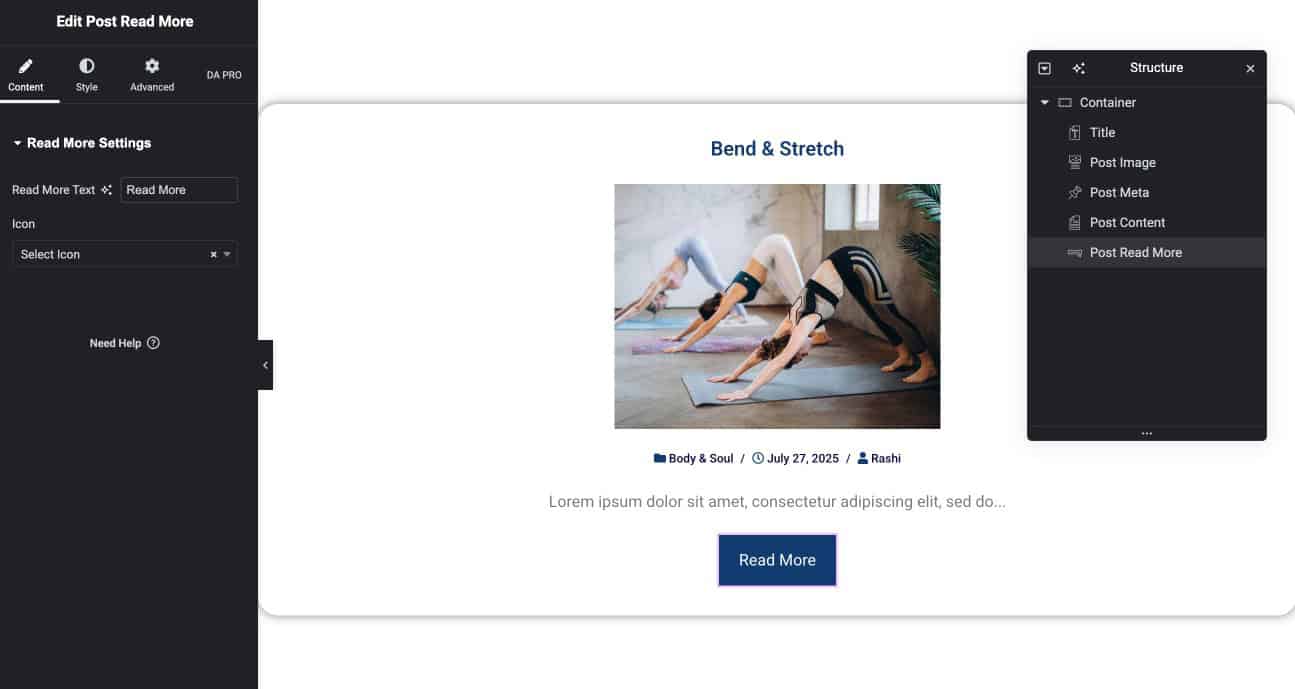
Step 1: Create a Block Layout
First, create a Block Layout that defines how each post will appear.
- Go to Dynific Addon → Add New Template
- Choose Block Layout
- Select Post Type (e.g., Posts)
- Choose a Preview Post
- Design your layout using Elementor
- Publish the template
Step 2: Create the Author Archive Template
- Go to DA Template -> Add New to create a new Template to be used as Author Layout.
- Do the following configuration to DA Template.

Step 3: Design the Template
- Click Edit with Elementor
- Add the Post Block Advanced widget
- Select the Block Layout you created earlier

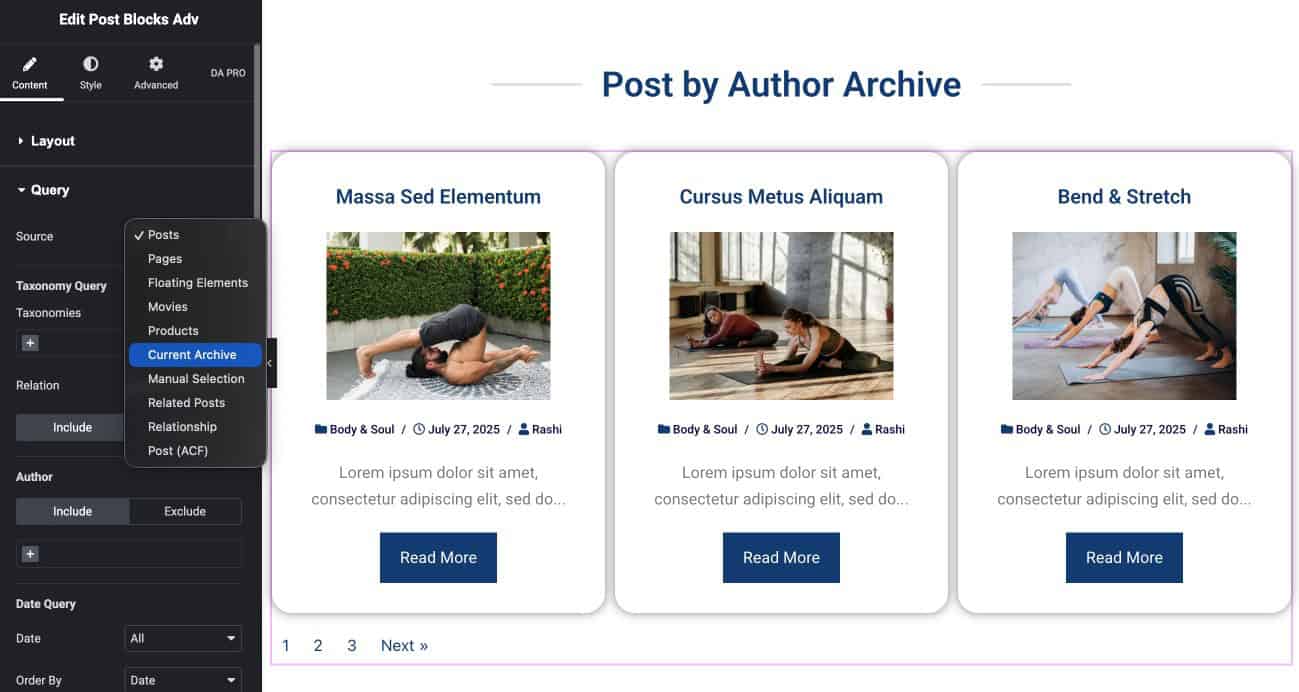
Step 4: Configure Query Settings
To display the correct posts in your template, you need to configure the query settings:
- While designing (for preview):
- Select Posts (or any post type) so you can see how the layout looks
- For final output:
- Select Current Archive
This ensures that the template dynamically displays posts based on the selected author.
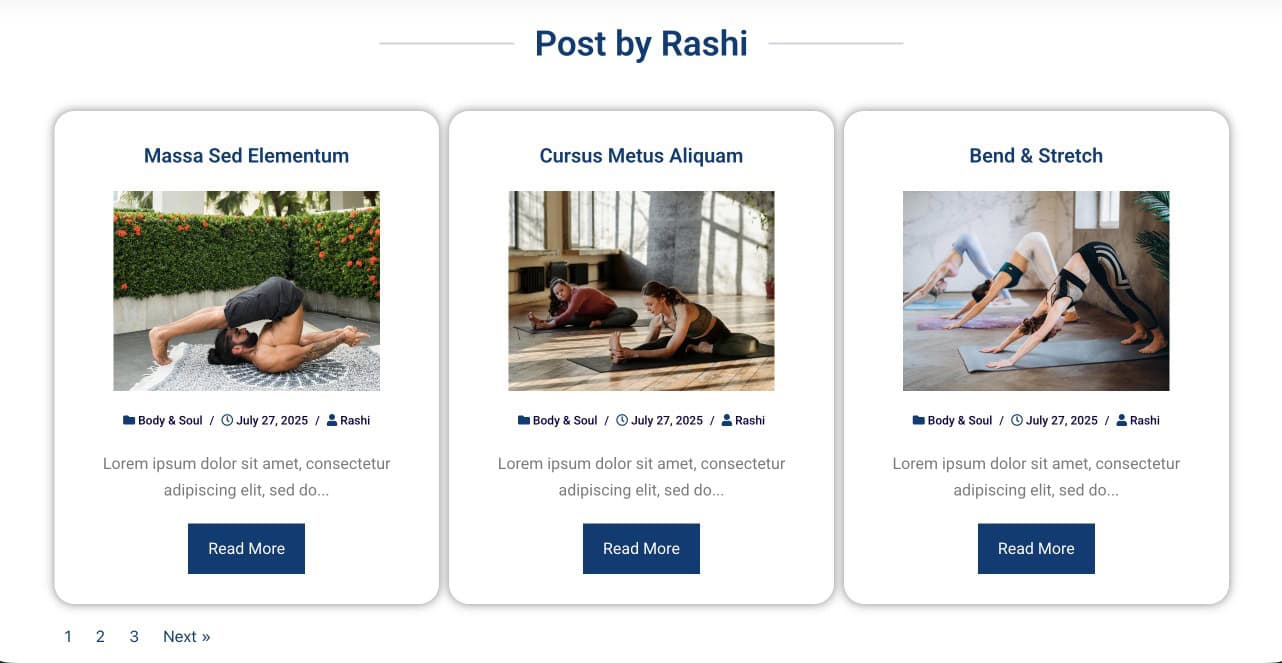
Step 5: Preview the Author Archive Page
To check the final output:
- Open any blog post on your website
- Click on the author name
- Your Author Archive Template will now:
- Display all posts by a specific author
- Automatically update based on the selected author
- Provide a clean and structured browsing experience