
3 Step Process For Creating Single Post Template using Dynific Addons for Elementor
Tired of using the same default layout for all your blog posts? Want to design beautiful, consistent templates that save time and reflect your brand?
With Elementor Free and Dynific Addons for Elementor (formerly AnyWhere Elementor), you can easily create fully custom Single Post Templates — no coding required. This tutorial walks you through a 3-step process to design and apply a dynamic blog post layout on your WordPress site.
Key Takeaways
- Create a single post template with Elementor Free and DA (no coding needed)
- Customize layouts for blog posts or custom post types
- Use DA widgets and Elementor dynamic tags together
- Apply templates globally or per post for flexible design
Plugins Required
- Elementor (Free Version)
- Dynific Addons for Elementor (formerly AnyWhere Elementor)
I am not going with the installation process. Both of these plugins are pretty simple to install, just like any other WordPress plugin. Still need help? Check Documentation
So here are the steps to create a Single Post Template with AnyWhere Elementor Pro.
While in this tutorial, I will be creating a Singular Template for Blog Posts; the same process applies if you want to create a Singular template for any custom post type.
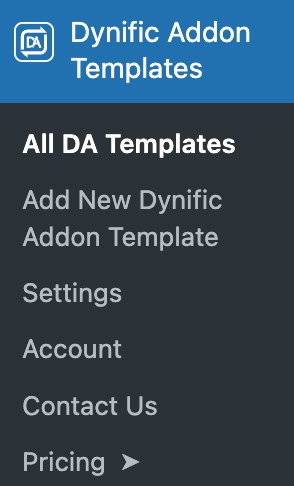
Step 1: Add new Dynific Addon Template
- Inside your WordPress Admin, go to Dynific Addon Templates -> Add New
- Give your template a suitable name
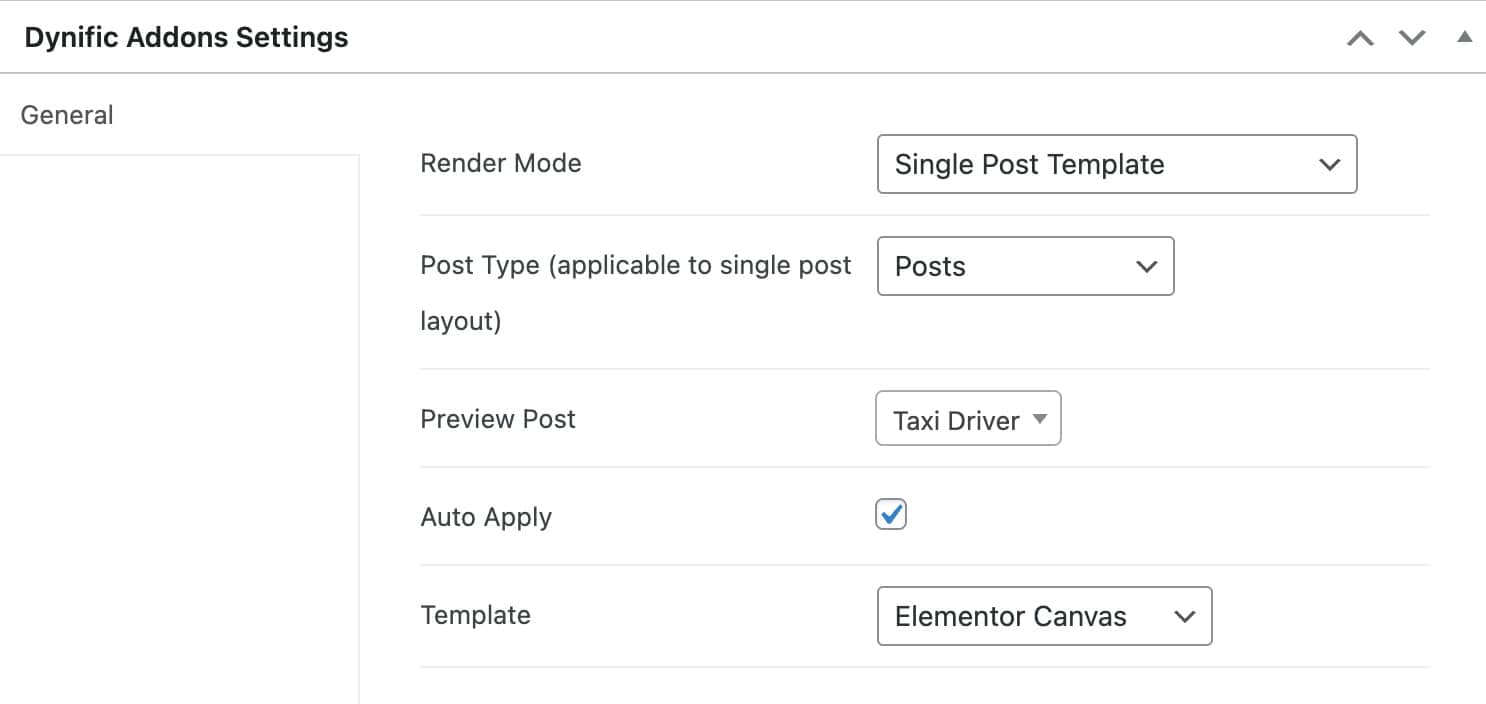
Step 2: Configure Template Settings and Assign Post Type
There are some basic configurations in each DA Template that define where this template will be applied. So we have to tell it which one of the Templates you want your new post to use, and for what kind of Single Post!
- Render Mode: Post Template
- Post Type: Post
- Preview Post: Select any existing post. Just type the first few characters of the title of your existing post, and it will populate the options to select. It is important to correctly preview the data while designing the template in Elementor Editor.
- Auto Apply: Check this if you want to apply this template to all blog post. (You can also design multiple single templates and apply them conditionally. We will get into this later.)
- Template: Select how your theme will render it on the frontend. Elementor Full width will give you much better control over the content area while keeping the Header-Footer provided by your theme.
Step 3: Edit DA template with Elementor
It is similar to editing any page/post with Elementor Editor. Here you can put some widgets to display your post data.
There are two approaches to this.
1. Using widget available with Dynific Addons for Elementor (formerly AnyWhere Elementor)
In AnyWhere Elementor Pro, there are a lot of unique widgets available to display the specific data. Here are some examples
- DA – Title to display the Post Title
- DA – Post Content to display post content
- DA – Post Meta to display meta information like Post Category, Published/Modified date, Author, and Comment Count.
- DA – Post Navigation to display Previous and Next Post link
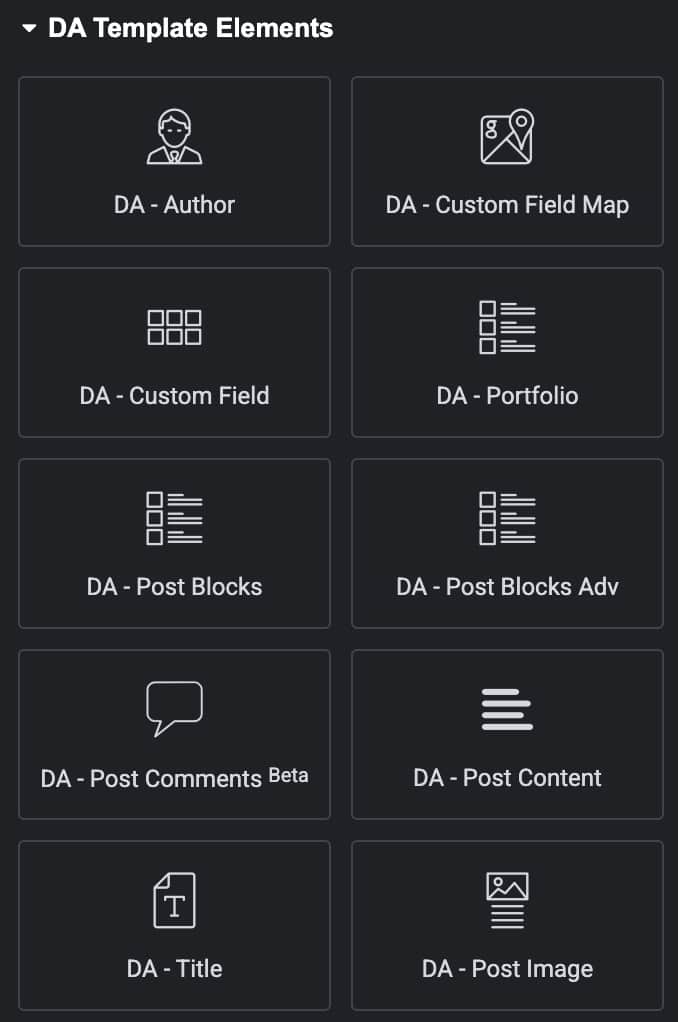
There are many more. You can find all of them prefixed with “DA -“. In this tutorial, we will add the following widgets.
- DA – Title
- DA – Post Image
- DA – Post Meta
- DA – Post Content
- DA – Post Navigation
- DA – Post Comment
All the widgets come with many customisation options that can help design them as per your requirement.
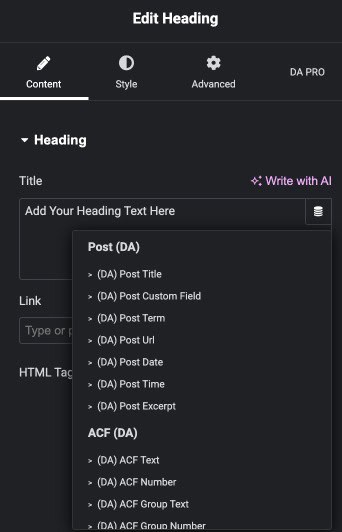
2. Using Dynamic Content with default Elementor widget
Under this approach, you can use Elementor’s default widget, like the Heading widget, with the dynamic content option provided by Anywhere Elementor Pro. Like, use Heading widget to display Post Title, Text Editor widget to display Post Content, and Image widget to display Featured image. You will get the option to display this data under the Dynamic Content option. Just like widgets, specific options provided by our plugin are all prefixed with DA.
You can also use the hybrid approach, like displaying some data using the DA widget and using native Elementor widgets with dynamic content.
Step 3: Publish and Apply Template
Once done, publish the template. If you have checked “Apply All” option in Step 2 above, your template will get applied to all the blog posts.
If “Apply All” is not checked, you will have to select the template for each post individually. It is helpful if you have multiple Single Post Templates for different kinds of Blog Posts.
When working with long interactive layouts like, it’s a good idea to add a Scroll to Top button to improve navigation, especially for mobile users.
FAQs on Dynific Addons for Elementor Single Post Template
What is a Single Post Template in WordPress?
A Single Post Template controls how individual blog posts or custom post types appear on your website. It includes layout, content structure, and design elements like the title, meta info, featured image, and more.
What’s the difference between DA widgets and Elementor widgets?
DA widgets are specifically designed for dynamic content like post meta, navigation, and comments, with more customization options.
Can I apply different templates to different post types?
Absolutely. You can set conditions by post type, category, or even manually choose a template per post.
Can I display dynamic content like author name or publish date in the template?
DA includes dynamic widgets such as DA – Post Meta, DA – Post Title, and more, which automatically pull content from each individual post.
Can I use the same template on multiple websites?
Yes! You can export your DA template as a JSON file and import it into another site using the same plugin setup. Learn how to export and Import Anywhere Elementor Pro templates.
Start Creating Single Post Template with Dynific Addons for Elementor
Creating a Single Post Template with Elementor and Dynific Addons for Elementor is one of the easiest ways to elevate your blog or custom post layouts — without hiring a developer. Whether you’re designing for blog posts, events, or portfolios, this 3-step workflow gives you full creative control.
Have questions? Explore our full guide on Managing Multiple Single Post Templates.


Hello
That’s a great informative article. This is a great solution for those who don’t want to purchase elementor pro
But by any chance, can the above single post template be created with just the free elementor version and with any free add-on plugin?
Any option we can do this totally Free?
Hi Jackson
Thanks for appreciating the article. Creating a single post template is not feasible with totally free setup. You can take Elementor Pro or our plugin “AnyWhere Elementor Pro” as mentioned above.