How to Create Dynamic Post Listings in Elementor
Most WordPress themes come with a default blog listing layout that automatically displays your posts. While this works for basic blogs, it offers limited flexibility when you want more control over design and functionality.
For example, you may want to place a custom post grid on your homepage, showcase posts in a unique card layout, add category filters for easier navigation, or build dynamic listings for custom post types like portfolios, team members, or events. These kinds of layouts often require more customisation than a theme’s default blog page can provide.
With Dynific Addons for Elementor, you can create fully customised dynamic post listings in Elementor anywhere on your website. By combining a Block Layout for designing the post card and the DA Post Blocks Adv widget for displaying the grid, you get complete control over both the layout and how content is queried, filtered, and presented.
This tutorial will show you how to build a flexible, dynamic post listing in Elementor, from designing the card layout to displaying beautifully structured, filterable content on any page.
What you need before starting
- Elementor (free version is fine)
- Dynific Addons for Elementor Pro installed and activated
- At least a few published posts with categories assigned
What Do You Need to Build Dynamic Post Listings in Elementor?
Dynific Addons for Elementor builds dynamic post listings using two components that work together.
The first is a Block Layout. This is a DA Template where you design what one post card looks like: the featured image, the title, the excerpt, the Read More button. You build it once in Elementor. Dynific Addons for Elementor repeats it for every post in the listing automatically. Think of it as the card design: you draw it once and it stamps onto every post.
The second is the DA Post Blocks Adv widget. This sits on any page or template in Elementor. It queries your WordPress database, pulls the posts that match your criteria, and renders each one using the Block Layout you designed. It handles the grid structure, the filter bar, the pagination, and the query, all from the widget settings panel.
Here is what DA Post Blocks Adv supports out of the box:
| Features | Options |
|---|---|
| Layout Skins | Grid, List, Carousel, Accordion, Smart Grid, Checkerboard |
| Source | Posts, Pages, Custom Post Types, Manual Selection |
| Filter Bar | Filter by Category, Tag, or any custom taxonomy |
| Pagination | Standard, Load More, Infinite Scroll |
| Ordering | Date, Title, Menu Order, Modified Date, Random, Comment Count |
| Taxonomy Relation | AND or OR filtering across multiple terms |
How Do You Place a Custom Post Grid on Any Page in Elementor?
Your theme’s blog listing only works on the dedicated blog page set under Settings > Reading. It does not appear anywhere else on your site, and you cannot change how the cards look without editing theme files or switching themes.
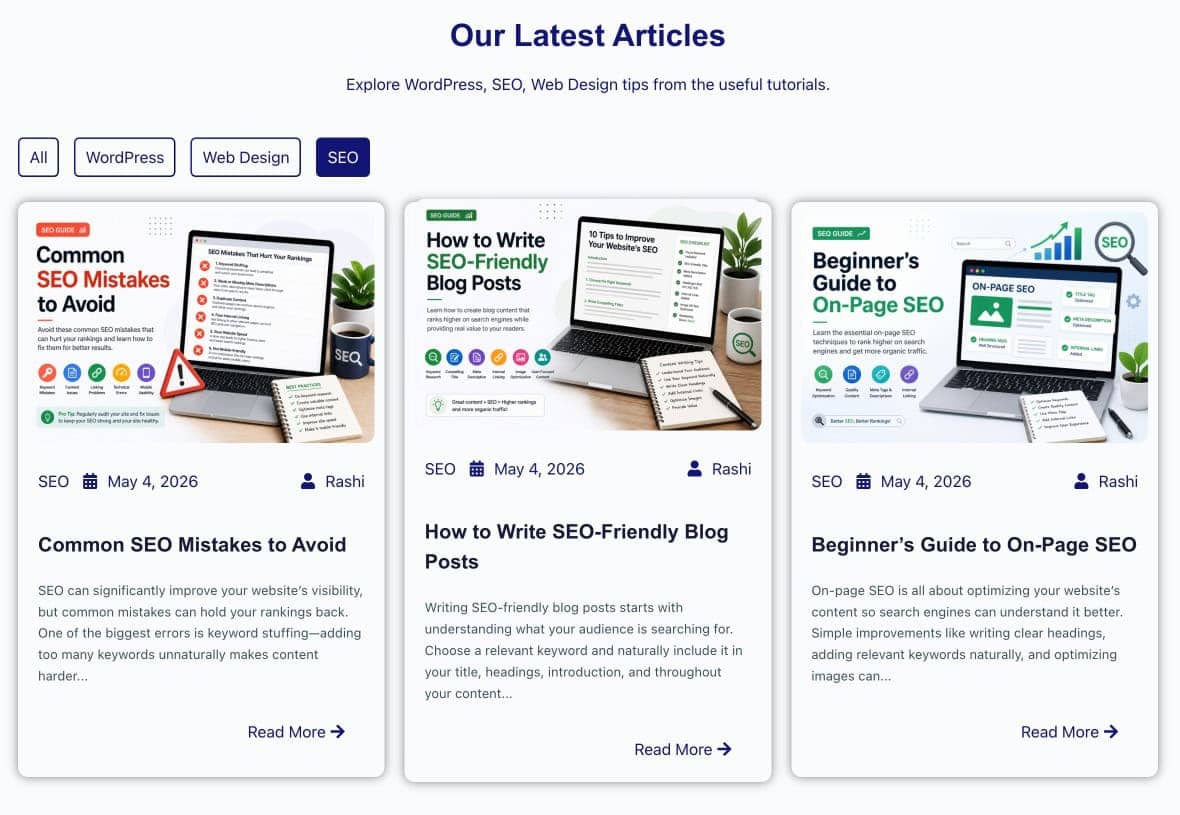
DA Post Blocks Adv lets you place a fully designed post grid on any page. A Latest Articles section on the homepage, a Resources listing on a services page, a Recent News block in a sidebar. Wherever you place the widget in Elementor, the listing appears. And because the card design comes from a Block Layout you build yourself, the posts look exactly the way you want them to look.
Setting this up has two parts.
Part 1: Design the Post Card in Elementor
The Block Layout is the card design. Go to DA Templates > Add New, name it “Blog Post Card”, and configure the following under Dynific Addons for Elementor Settings:
- Template Type: Block Layout
- Preview Post: select any published blog post with a featured image and excerpt. This post appears as the live preview while you design in Elementor.
Save and click Edit with Elementor.

Inside the Elementor editor, find the DA Template Elements widget group in the widget panel. Add the following widgets to build the card:
| Widget | What It Displays | Placement |
|---|---|---|
| DA – Post Image | Featured image, linked to the post | Top of card |
| DA – Post Meta | Author, publish date, and categories | Below Image |
| DA – Title | Post title, dynamically linked to the post | Below Meta |
| DA – Post Content | Short excerpt from the post content | Below title |
| DA – Post Read More | Read More button linking to the full post | Bottom of card |
Style each widget using Elementor’s Style tab, covering typography, colours, image size, and button style. Then style the card container itself using padding, background colour, border radius, and hover shadow. When the card looks right, save the template.

Pro Tip
Keep the Block Layout focused on the card only. Page-level elements like headings, banners, or navigation belong on the page itself in Part 2, not inside the Block Layout.
Part 2: Place the Listing on Any Page
Open any page or template in Elementor where you want the post grid to appear. Search for DA Post Blocks Adv in the widget panel and drag it onto the canvas.
In the widget settings, configure the following:
Layout section:
- Layout: Grid
- Primary Block Layout: select “Blog Post Card”, the card you designed in Part 1
- Column and Row Gap: Set the gaps between columns and rows.

Query section:
- Source: Post
- Posts Count: 6 or 9 works well for a three-column grid
- Order By: Date
- Order: Descending, so the newest posts appear first

Save the page and open it in the browser. Every published post appears in the grid using the Blog Post Card design. Publish a new post in WordPress and refresh the page. It appears at the top of the grid automatically, with no changes needed to the page.

The same widget on a different page, with a different Block Layout and a different query, gives you an entirely separate listing. One widget, endless placement options.
How Do You Add a Category Bar to the Post Listing?
A filter bar lets visitors sort the post grid by category or tag without leaving the page. They click a tab and the grid updates instantly, with no page reload and no navigation away. This is something no standard theme listing provides natively.
DA Post Blocks Adv has a filter bar built directly into the widget settings. No extra plugin required.
In the DA Post Blocks Adv widget settings, find the Show Filter Bar toggle and enable it. The filter settings appear below:
- Taxonomy: select Category. Any taxonomy registered on your site is available here, including Categories, Tags, or any custom taxonomy you have created. Leave blank to show All as the default
- Exclude Term: enter any category names you want hidden from the filter bar, for example
Uncategorized. - Order By: Name for alphabetical order, or Term for WordPress term order.
- Show All: Enable the “Show All” option to display all posts under a single tab, and customize its label using the Tab ‘All’ Text field. If you want a cleaner layout, you can enable Collapse Filter.

Style the filter bar using the Style tab in the widget settings. Set the tab background colour, active state colour, typography, border radius, and spacing to match your design.

Tutorials and Tips tabs
Note
The filter bar works with any taxonomy registered on your site, not just the default WordPress categories and tags. If you have a custom taxonomy on a custom post type, for example a Region taxonomy on a Properties post type, it appears in the Taxonomy dropdown automatically.
How Do You Display a Custom Post Type in the Listing?
Custom post types such as portfolios, case studies, team members, properties, and events do not appear on the standard WordPress blog page at all. They are separate content types with their own admin screens, and the theme listing ignores them entirely.
DA Post Blocks Adv can query any registered custom post type on your site and display it in a designed grid using a Block Layout you built in Elementor. The setup is identical to the blog post listing. The only difference is the Source setting in the Query section.
In the DA Post Blocks Adv widget settings, go to the Query section and change Source from Post to your custom post type, for example Portfolio, Case Study, or Team Member. The widget immediately queries that post type and renders each entry using the Block Layout.

showing Portfolio custom post type
selected as source
If your custom post type has its own taxonomy, for example a Project Type taxonomy on a Portfolio CPT, that taxonomy appears in the filter bar’s Taxonomy dropdown automatically. Enable the filter bar and visitors can filter portfolio entries by project type exactly the same way they filter blog posts by category.
How Do You Control the Layout and Ordering of the Post Listing?
The DA Post Blocks Adv widget gives you multiple layout skins and full control over how posts are ordered and how many appear at once, all configurable from the widget settings without touching any code.
Changing the Layout Skin
In the Layout section of the widget settings, the Skin dropdown controls the overall layout structure:
| Skin | Best For |
|---|---|
| Grid | Standard equal-column post grid for blog listings, portfolios, and team directories |
| List | Single-column stacked layout with image and text side by side, suited to news feeds and article listings |
| Carousel | Horizontally scrolling post slider, ideal for featured posts, testimonials, and product highlights |
| Accordion | Expandable post list, useful for FAQs, grouped content, and space-efficient listings |
| Smart Grid | Mixed-size grid where the first post is larger, suited to magazine-style layouts |
| Checkerboard | Alternating image-left and image-right layout, suited to editorial and feature sections |
Switch between skins at any time. The Block Layout card design stays the same. Only the grid structure changes.


Controlling the Order and Pagination
In the Query section, set Order By to control the sequence. Options include Date for newest first, Title for alphabetical order, Menu Order for a custom drag-and-drop order set in WordPress, Modified Date for recently updated posts first, Random for a shuffled order on every page load, and Comment Count for most commented posts first.
In the Layout section, enable Pagination and set up their settings.

Frequently Asked Questions
Can I place a DA Post Blocks Adv widget on more than one page?
Yes. You can add the widget to as many pages and templates as you like. Each instance has its own Block Layout selection and Query settings, so each listing on each page can show different content in a different design independently.
Can I use the same Block Layout for different post types?
Yes, if the widgets used in the Block Layout make sense for both post types. In practice it is usually better to create a separate Block Layout for each post type so the card design fits the specific content. A blog post card differs from a portfolio card or a team member card.
Does the filter bar work with custom post type taxonomies?
Yes. Any taxonomy registered on your site, including taxonomies attached to custom post types, appears in the Taxonomy dropdown in the filter bar settings. Set Source to your custom post type in the Query section, enable the filter bar, and select the relevant taxonomy.
Can I use DA Post Blocks Adv to display posts from a specific category only, without showing a filter bar?
Yes. In the Query section under Taxonomies, and select the category you want to display. Set the Relation to Any Term, and use the Include/Exclude options to refine your selection. Make sure the Show Filter Bar option is turned off.
Conclusion
Your theme handles a basic blog listing. DA Post Blocks Adv handles everything beyond that: a custom-designed post card, a listing on any page you choose, an interactive category filter, custom post type support, and six layout skins that cover everything from a standard grid to a magazine-style Smart Grid.
The Block Layout you built today works across every listing on your site. Change the card design once and every DA Post Blocks Adv widget using it updates automatically, covering blog listings, portfolio grids, team directories, and everything in between.
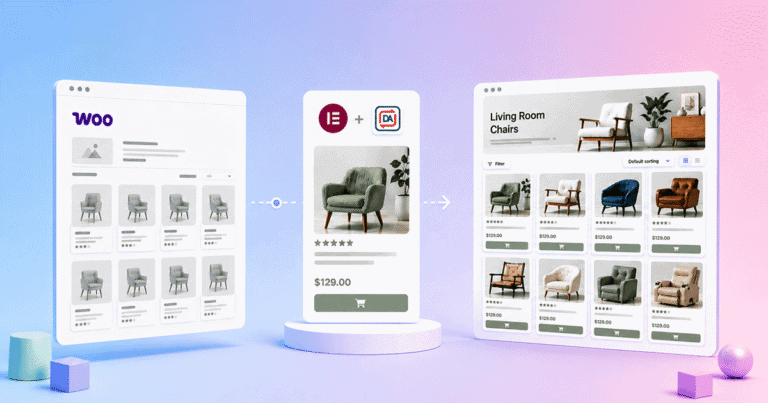
The same Block Layout and DA Post Blocks Adv combination powers the WooCommerce product category page tutorial. The system is the same. Only the content type changes.
Get Dynific Addons for Elementor Pro and start building post listings that go beyond what your theme can do.